Installation: How to install a new dishwasher
Topic: Installing a new dishwasher Difficulty: Easy to Intermediate
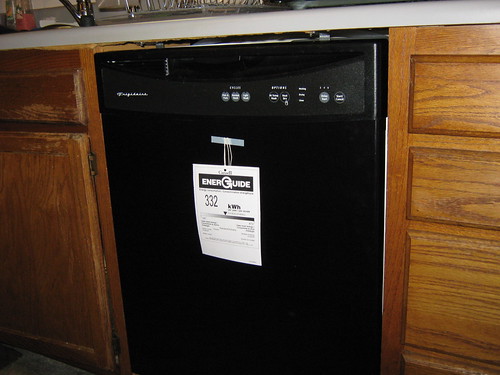
Three years ago I installed a new dishwasher in our old house. I recently had the opportunity to do it again and decided to document the process.
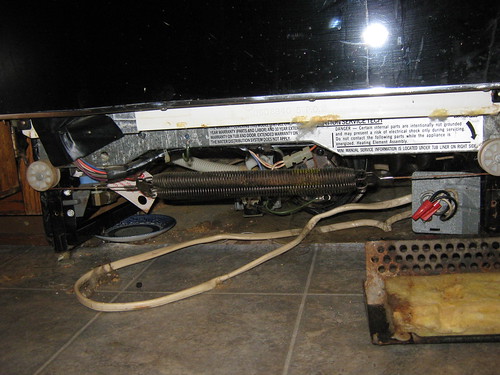 First, shut off the water and power to the dishwasher. Remove the kick plate on the old dishwasher. There will be two screws on each side that you need to remove. Underneath you can see the water inlet (copper pipe or plastic/metal if you have a newer unit). You can also see the electrical connection.
 Pull the old dishwasher out a little. Any resistance you feel is probably from the water line or power connection.
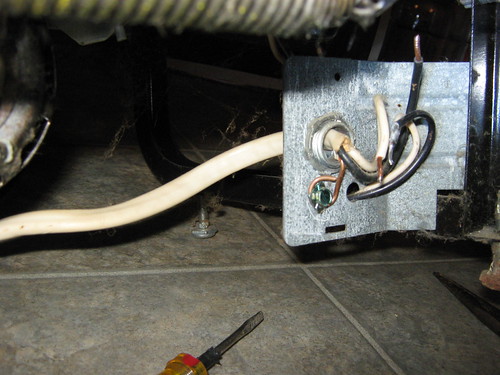 Disconnect the water line. Place a small dish under the connection to catch water left in the line. Then work on getting the power wires disconnected. A ground wire is screwed against the dishwasher frame; white and black power wires are also present.
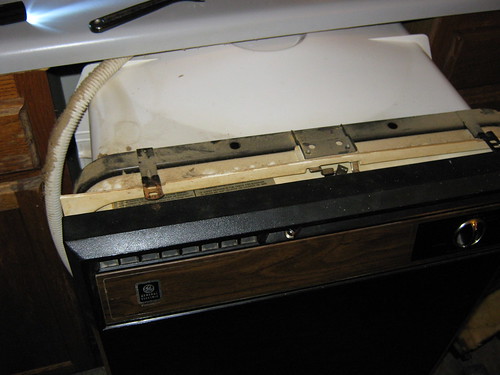
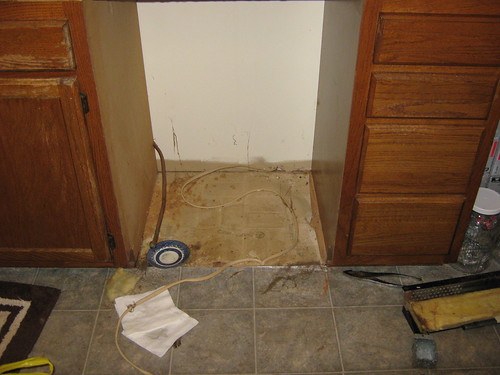 When the connections are disconnected, you can pull the old unit all the way out. You'll probably have some water, dust, and debris to wipe up.
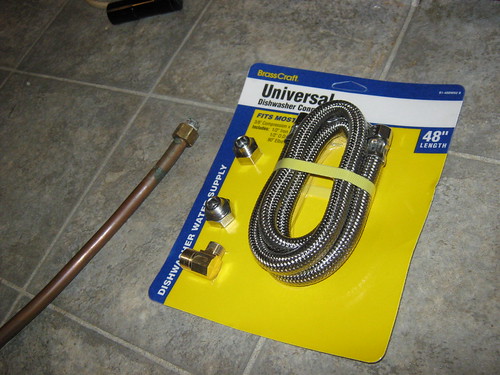 To proceed, I had to pick up a new connection kit. The old copper pipe was straight and would require a 90-degree bend to fit into the new dishwasher. Connector kits cost less than $10 and usually include pipe adapters.
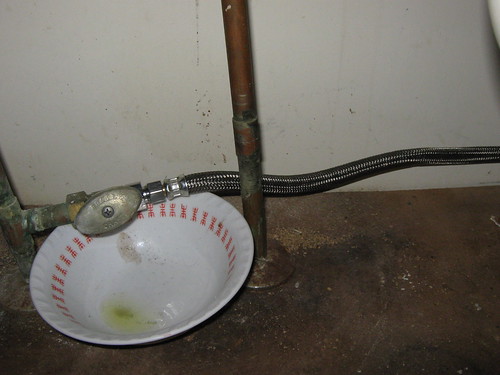 Remove the old water line connection under the sink, catching any runoff. Attach the new connector, using an adapter if necessary.
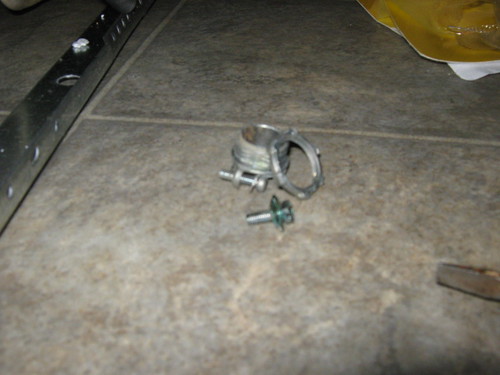 To prepare the electrical connection, I salvaged a bracket from the old unit. It can be used to hold the power wire in place more securely.
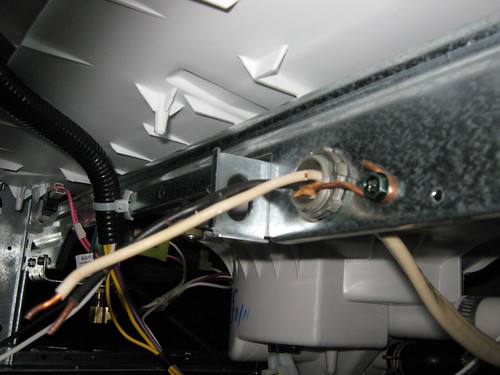 Put the bracket in place if you have it and thread the wires through.
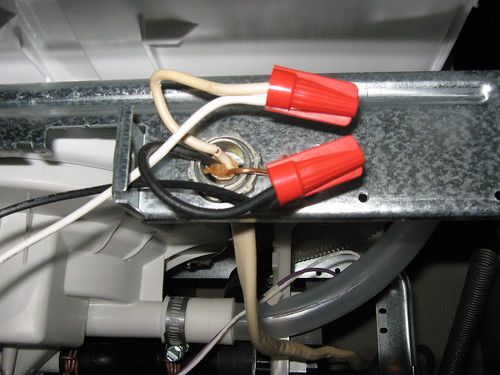 Twist the wires together and secure the ground wire with a screw (not shown; it's behind a red twist tie).
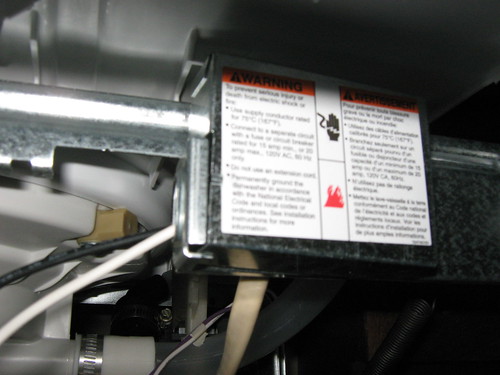 Place the cover over the connections. Tighten the wire clamp in the back if you have it - that way you can tug on the wire and not end up pulling the twist ties apart accidentally).
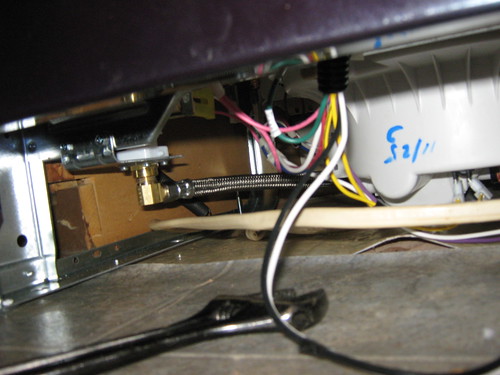 Tighten the water line connection. Notice the 90-degree joint that was required to make this work. One is usually included with a dishwasher connection kit.
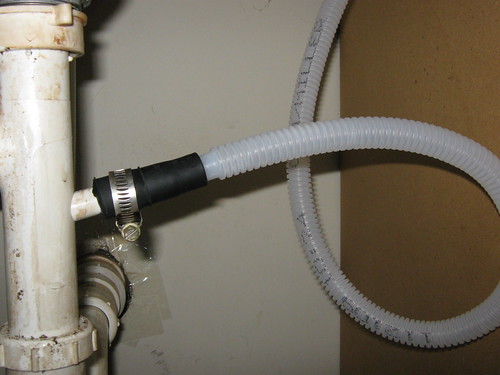 Attach the drainage line. The black connector has several widths and you can cut it at the point that matches your drain. I used the existing screw clamp to secure it further. I pulled the drain loop higher after this shot was taken.
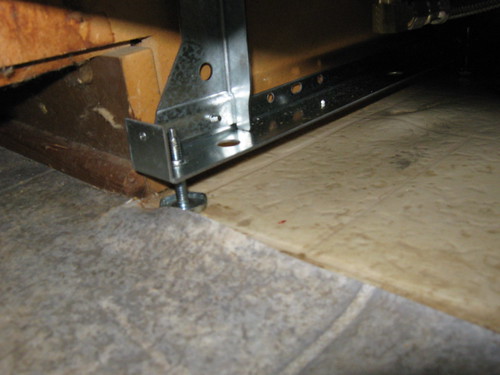 Make sure the dishwasher is level and at the height you want by adjusting the legs. It's easiest if you do this prior to sliding it back in but I forgot and had to do it while the unit was attached.
 There are two places to screw the dishwasher to the top of the counter. After that you can turn the water and power back on, test the dishwasher, and use a flashlight to look for leaks underneath.
If everything looks fine, attach the kick plate. You're done.
Browse some of the Best-selling dishwashers and get started with your own installation


