How to install a programmable thermostat
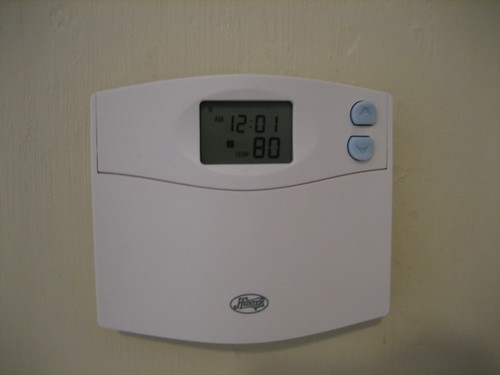
I wrote earlier about our older thermostat. After much effort to calibrate it, we gave in and bought a digital thermostat. The old one never seemed to read any temperature besides 80F, yet the house sometimes feels fine as if it's much cooler than that.
The model we bought was a programmable Hunter 44155C. You can find a selection of models at Amazon. Ours cost $25 and allows you to program settings for the week and weekend (some allow a program for each day if you need that - look for a 7 day programmable in that case).
Since you'll be touching wires, shut off the power to your air conditioner at your breaker box.
Here's the old thermostat with the cover removed. The vial near the top contains some mercury, which is fun to behold, dangerous to hold.
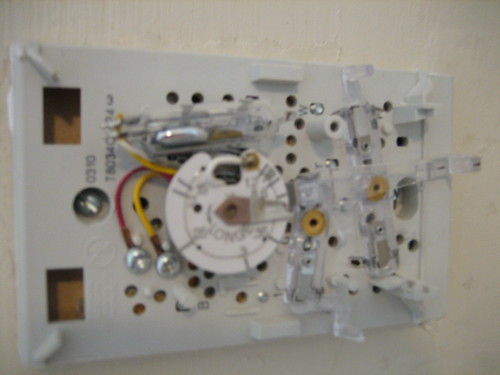
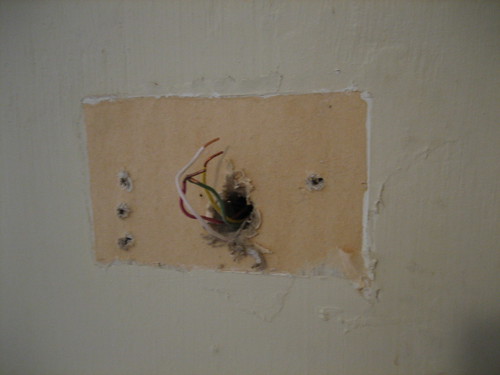
First, unscrew the back plate from the wall. You might also need to pull the unit out from the wall a little to loosen the wires on the back. Make a note of the color of each wire and the label of the terminal it's attached to. In most cases, you should have something like green going to a "G" terminal, but the colors don't always have to match.
Next, attach the new programmable thermostat. Typically you just match the wires up to the labels. Your instructions will spell it out in a little more detail.
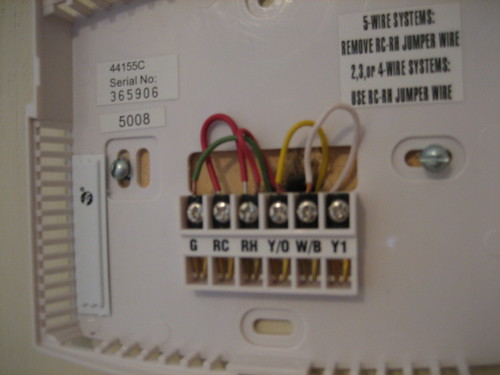
Once the back plate is wired up, you can put the front cover on and load the AA batteries.