MacBook Internals: A tale of water, woes, data recovery, and weeee!
The family MacBook has moved onto a better place after more than a year of dutiful service and much pinwheel spinning. That place is the bookshelf behind me, because, apparently, heaven is too far away.
A small amount of water made its way onto the left side of the keyboard. We wiped it quickly, shut the machine down, took the battery out, and placed it upside down and waited a day and a half before trying any funny business. I think the machine actually shut down by itself, which probably wasn't a good sign.
I decided to take a look inside after a day had passed. Here's how:
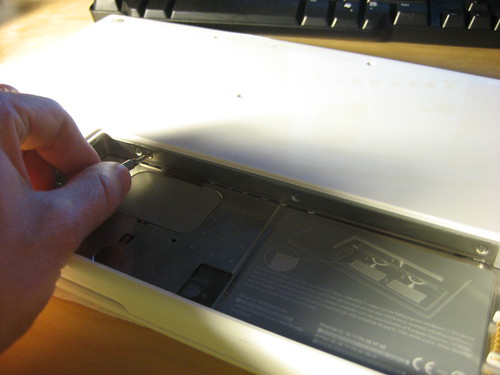 Step 1 To begin the process, loosen the three screws along the inner wall of the battery compartment.
 Once those screws are loose, you should be able to pry the L-shaped metal piece out of the bay. This is how you would gain access to the memory bays for a memory upgrade.
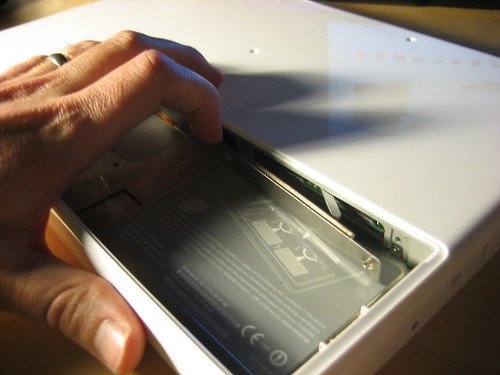
 Step 2 Now you need to remove the two outermost screws from the battery connection side of the bay. Leave the two screws that are adjacent to the battery connection terminal.
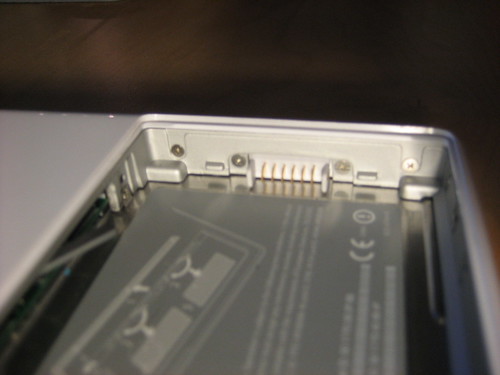
 Step 3 The next step takes us to the same place we were in step 1, except now we're removing the 3 tiny screws that are located directly below each of the first three we removed.
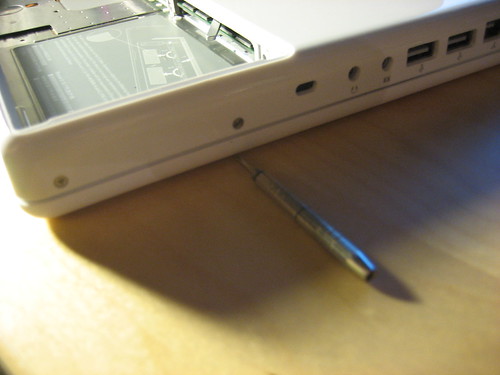 Step 4 Now you can work your way around the exterior of the case. Start by taking out the two screws on the port side of the case.
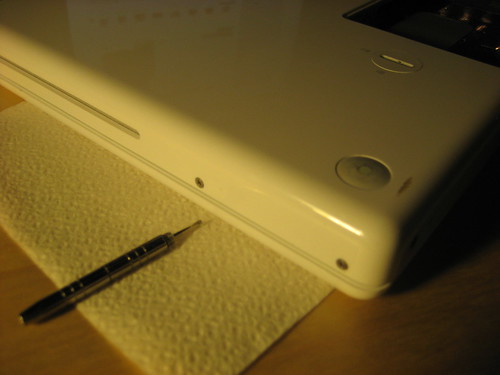 Step 5 Continue to the CD/DVD side and remove those two screws.
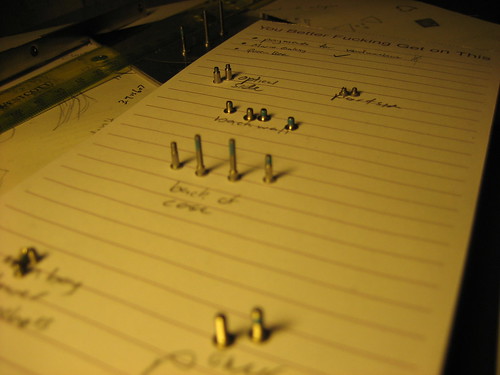
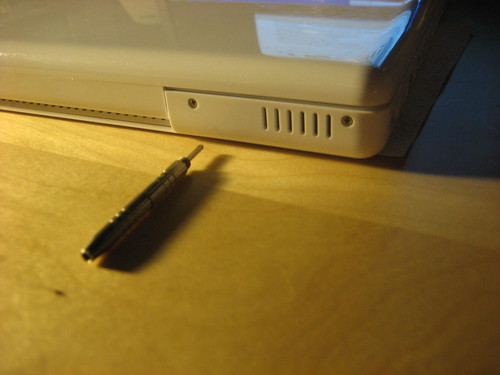 Step 6 Now turn the case again and take out the four screws on the back. I think the two inner screws are longer than the outer two. By now you have quite a few screws sitting around you, so if you haven't already you may want to make a map of where each set of screws came from.
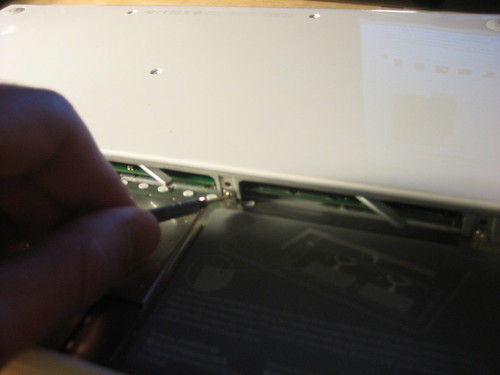
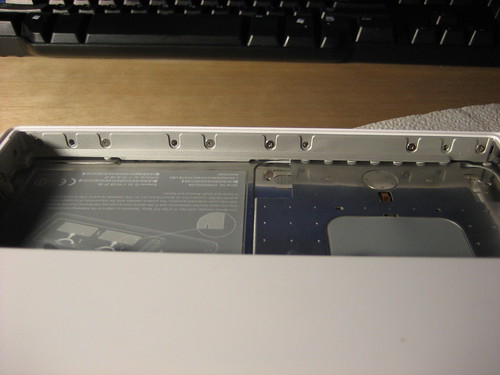 Step 6 Now remove four screws along the front side of the battery bay. You can click the image to see which ones I've removed; from the left they are the 2nd, 4th, 7th, and 9th. I got that off some site but don't remember what it was.
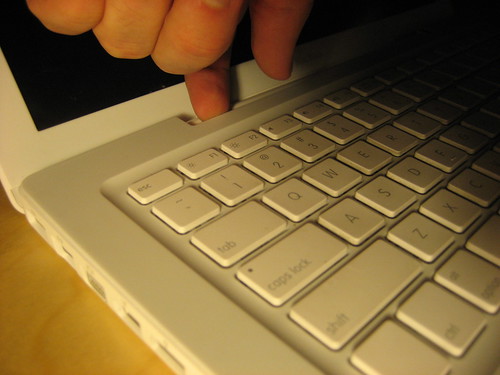 Step 7 Now it's time to being prying up the keyboard. I started at the back and slowly worked around to the front. You'll encounter some resistance, but if you find yourself straining it means you forgot a screw somewhere (most likely).
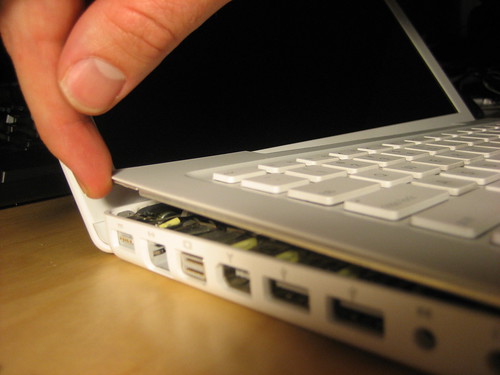
 One last thing to be cautious about: the keyboard connects to the motherboard via a connector that you can see already disconnected in the above picture. I advise lifting the keyboard up from the front just enough to get a tool/hand (be wary of static of course) in there to pry it off. It should disconnect with relative ease.
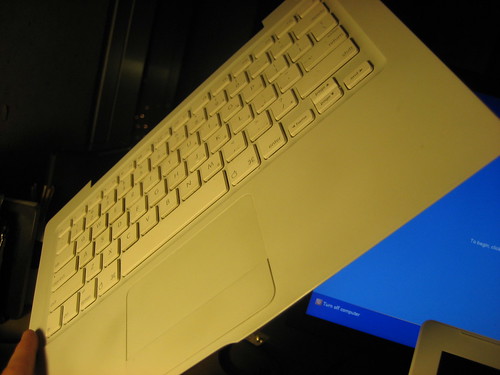 After that you're home free. You can dry the keyboard (there's always the possibility that there's water in some of the inner layers of the keyboard) and also inspect your motherboard for moisture or damage.
After the requisite period of waiting, I tried to boot the machine up. It seemed like it was going to boot but the screen remained dark, mostly. I could see the faint visages of my applications in OS X but the screen remained dark and eventually the MacBook shut off.
In the next installment I'll show you how to get the data off of your hard drive.


